Workspace Studio
Workspace Studio is the management hub for configuring what your AI Assistants know and can do. Access it from the left sidebar (scissors/tools icon).
Overview
Studio is organized into six tabs across the top:
| Tab | Purpose |
|---|---|
| Tasks | View and manage SLXs and their associated diagnostic/remediation tasks |
| Rules | Define automated behaviors and contextual guidance for Assistants |
| Commands | Create structured, repeatable actions for Workspace Chat |
| Knowledge | Manage information sources that Assistants reference |
| Workflows | Automate sequences triggered by events |
| Assistants | Configure AI assistant personas and permissions |
The workspace name is shown at the top (e.g., “Workspace Studio | Sandbox”) with a dropdown to switch workspaces.
For the conceptual model behind these tabs — Rules vs Commands vs Knowledge as operational-context levers — see Learn → Rules, Commands, Knowledge, and the Building Operational Context guide for a step-by-step adoption walkthrough.
Tasks
The Tasks tab shows all SLXs organized by platform. The Sandbox workspace shows two platform categories:
- KUBERNETES — SLXs monitoring Kubernetes resources across namespaces
- GCP — SLXs monitoring Google Cloud Platform resources
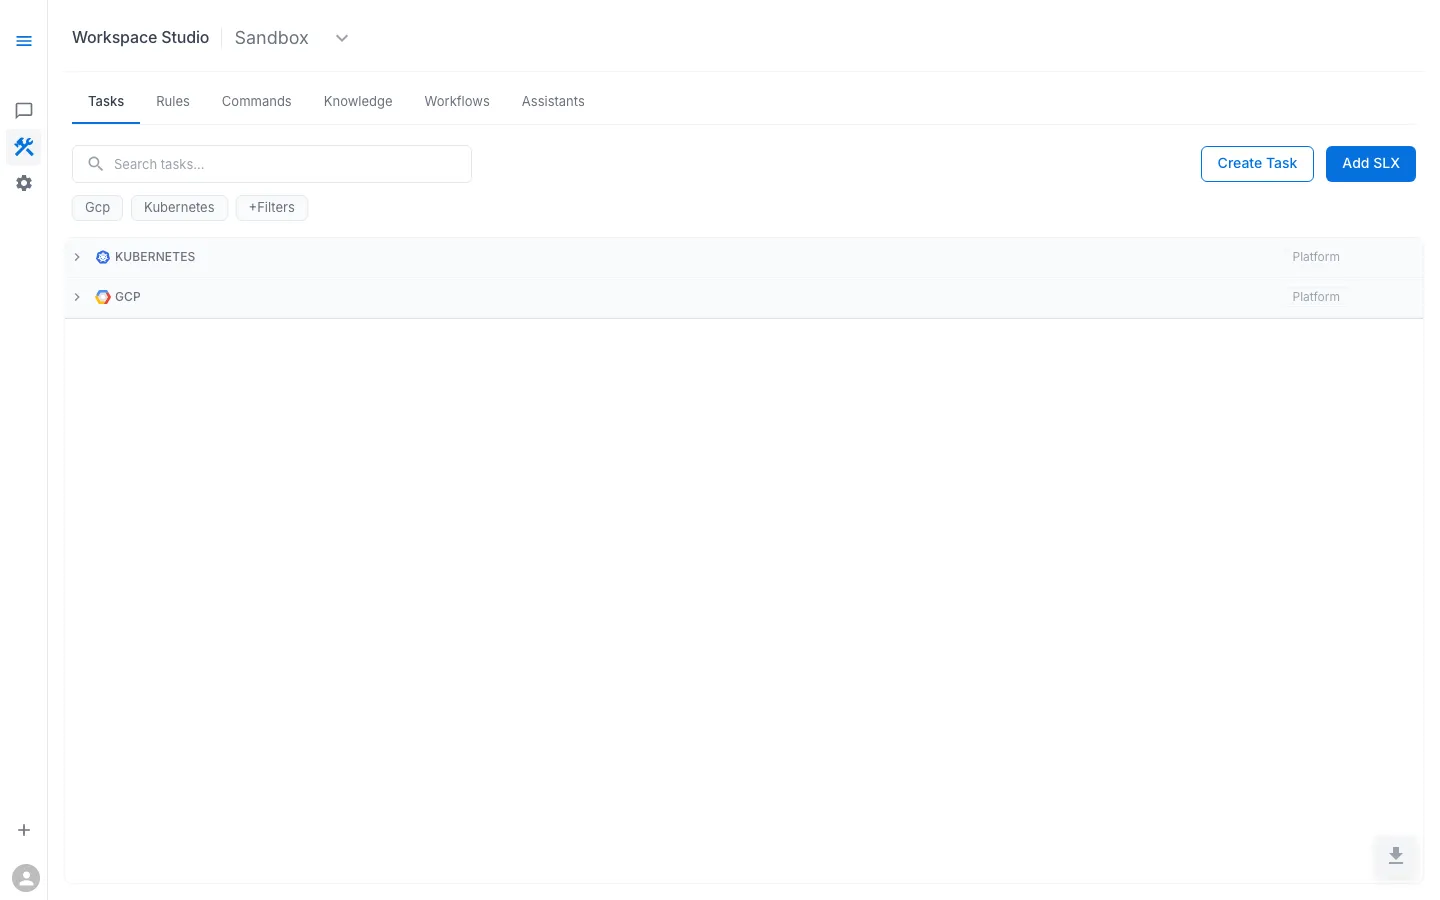
Available Actions
- Search tasks… — Find specific tasks by name or keyword
- Platform filters — Filter by “Gcp”, “Kubernetes”, or “+Filters” for additional criteria
- Create Task — Add new automation from scratch (outlined button)
- Add SLX — Add a new Service Level Expectation with associated tasks (blue button)
Expanding SLXs
Click the expand arrow on a platform category to reveal all configured SLXs. Each SLX groups related tasks that monitor and troubleshoot a specific service or component.
Rules
The Rules tab is where you author and manage the standing guidance an assistant uses to interpret findings. For the conceptual model — what Rules are, why they exist, how they relate to Commands and Knowledge — see Learn → Rules.
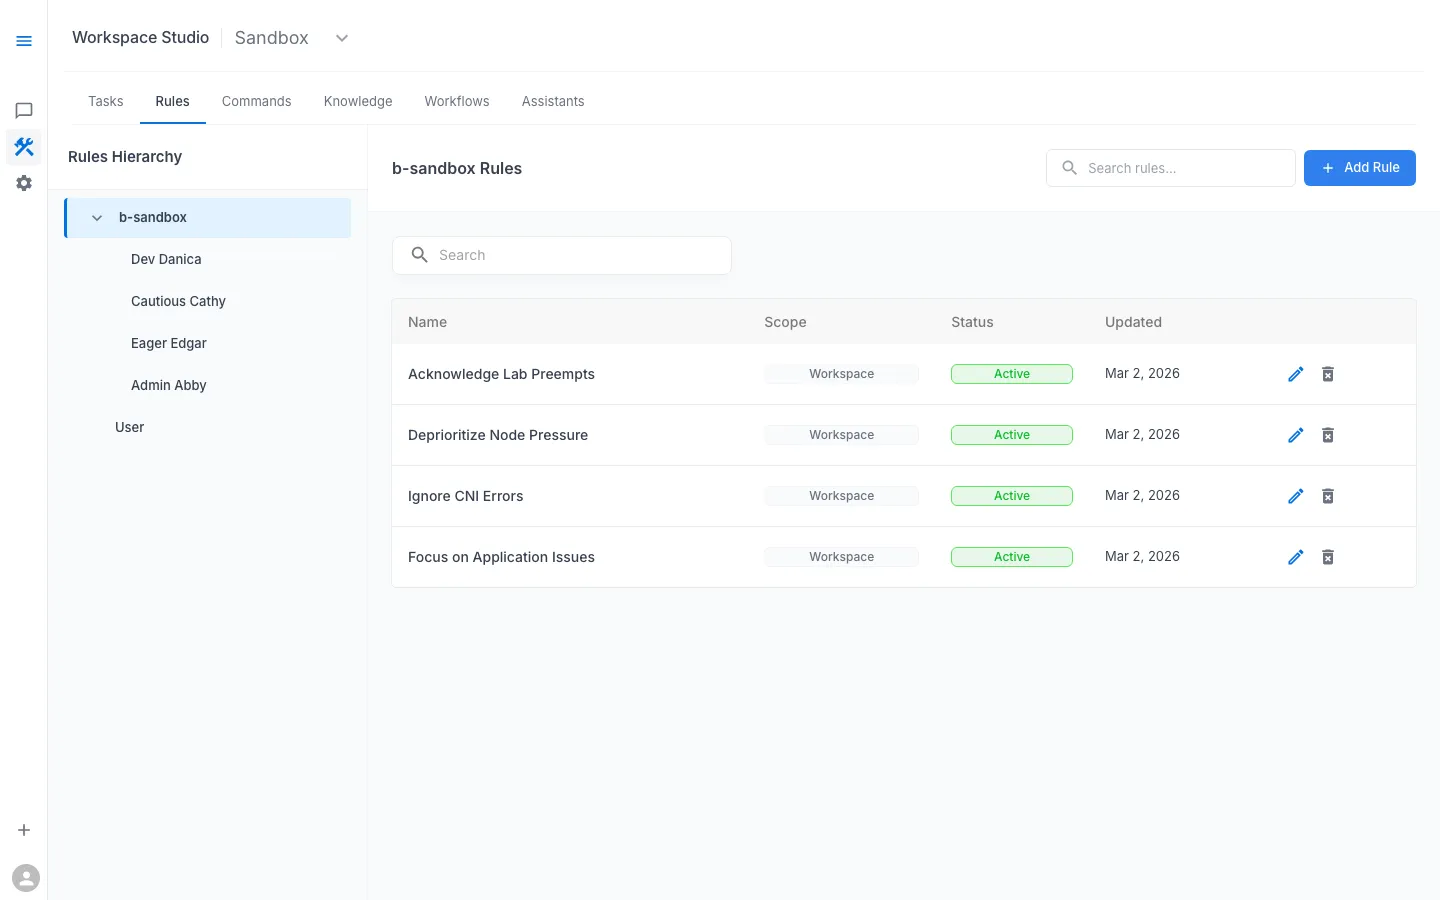
Rules Hierarchy
Rules are organized in a hierarchy that controls scope:
Left panel — Rules Hierarchy tree:
-
b-sandbox (workspace level) — rules that apply to all assistants in this workspace
- Dev Danica — rules specific to Dev Danica only
- Cautious Cathy — rules specific to Cautious Cathy only
- Eager Edgar — rules specific to Eager Edgar only
- Admin Abby — rules specific to Admin Abby only
-
User — rules that apply when specific users are interacting
Right panel — Rules table: Shows the rules at the selected scope level with columns: Name, Scope, Status, Updated.
Rule Properties
Each rule has:
- Name — descriptive identifier (e.g., “Acknowledge Lab Preempts”)
- Scope — what the rule applies to
- Status — active or inactive
- Updated — last modification timestamp
Example Rules
These examples show how rules reduce noise in the Sandbox lab environment:
Rule: Acknowledge Lab Preempts (Workspace level)
When encountering node preemption events or spot instance terminations, acknowledge them as expected behavior in a lab environment. Briefly note them but deprioritize them in the investigation — they are not root causes for application issues.
Rule: Deprioritize Node Pressure (Workspace level)
Node pressure, CPU/memory pressure conditions, and taints related to resource constraints are known lab constraints. Note them as background context but focus the investigation on application-layer issues (pod crashes, log errors, config mismatches, connection failures).
Rule: Ignore CNI Errors (Workspace level)
CNI plugin errors and intermittent network-related node issues occur periodically in this lab cluster. Do not flag them as root causes unless they directly correlate with the user’s reported symptom.
Rule: Focus on Application Issues (Workspace level)
When troubleshooting online-boutique namespaces, prioritize application-level findings (CrashLoopBackOff, error logs, misconfigured environment variables, connection failures) over infrastructure-level noise. The goal is to help users learn the troubleshooting workflow, not diagnose lab infrastructure.
These rules allow the AI Assistant to say “I see node pressure on some nodes (this is expected in this lab environment)” and then move on to the actual application issue, instead of spending half the response analyzing infrastructure noise.
Creating a Rule
- Select a scope node in the left hierarchy tree (e.g., “b-sandbox” for workspace-wide)
- Click + Add Rule in the upper right
- Enter the rule name and content
- Save the rule
Rules require write permissions. Read-only users can view rules but not create or modify them.
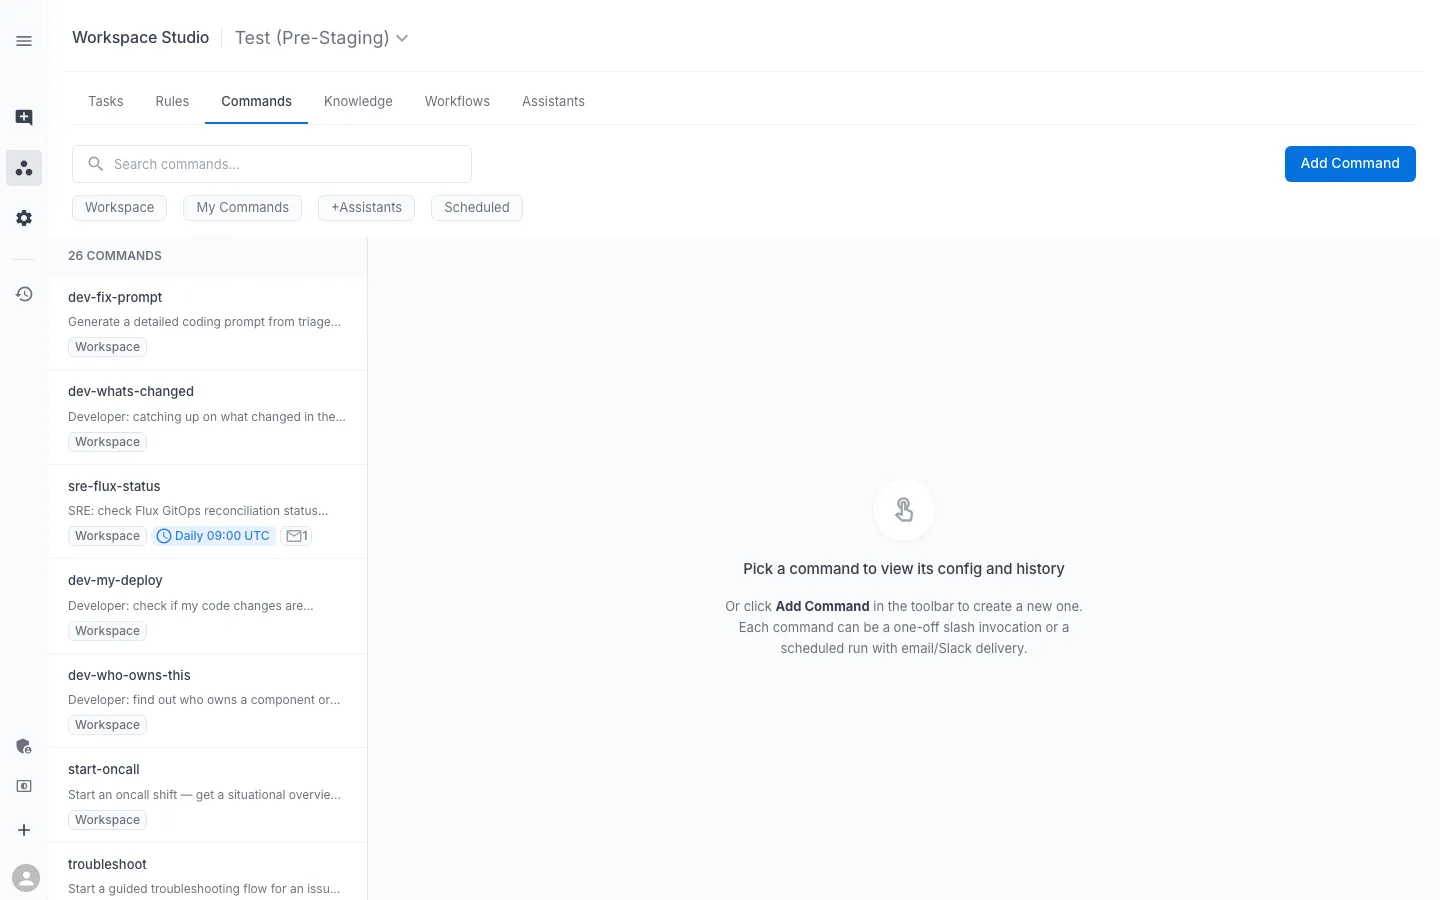
Commands
The Commands tab is where you author the named procedures users can invoke from Workspace Chat (slash commands) or that fire automatically on a schedule. For the conceptual model — on-demand vs scheduled, Workflow comparison, what makes a good Command — see Learn → Commands.
Commands Hierarchy
Commands follow the same two-panel layout as Rules:
Left panel — Commands Hierarchy:
-
b-sandbox (workspace level) — commands available to all assistants
- Dev Danica, Cautious Cathy, Eager Edgar, Admin Abby — per-assistant commands
-
User — personal commands for individual users
Right panel — Commands table: Columns: Name, Scope, Status, Updated
Example Commands
Command: Investigate Namespace (Workspace level)
Check the health of a specified namespace. List all pods and their status, identify any in CrashLoopBackOff or Error state, check recent warning events, and inspect logs for crashing containers. Summarize findings by service with severity.
Command: Troubleshoot Checkout Flow (Workspace level)
Investigate the full checkout flow for a specified online-boutique environment. Check checkoutservice pod status, inspect logs for errors, verify service-to-service connectivity (payment, shipping, email, cart), and identify the failing component with root cause and remediation.
Command: Compare Environments (Workspace level)
Compare the configuration and health of a service across two namespaces (e.g., dev vs test). Highlight differences in environment variables, image versions, replica counts, and resource limits. Flag any configuration that exists in one environment but not the other.
Creating a Command
- Select a scope node in the hierarchy
- Click + Add Command in the upper right
- Define the command name, parameters, and behavior
- Save
Commands require write permissions.
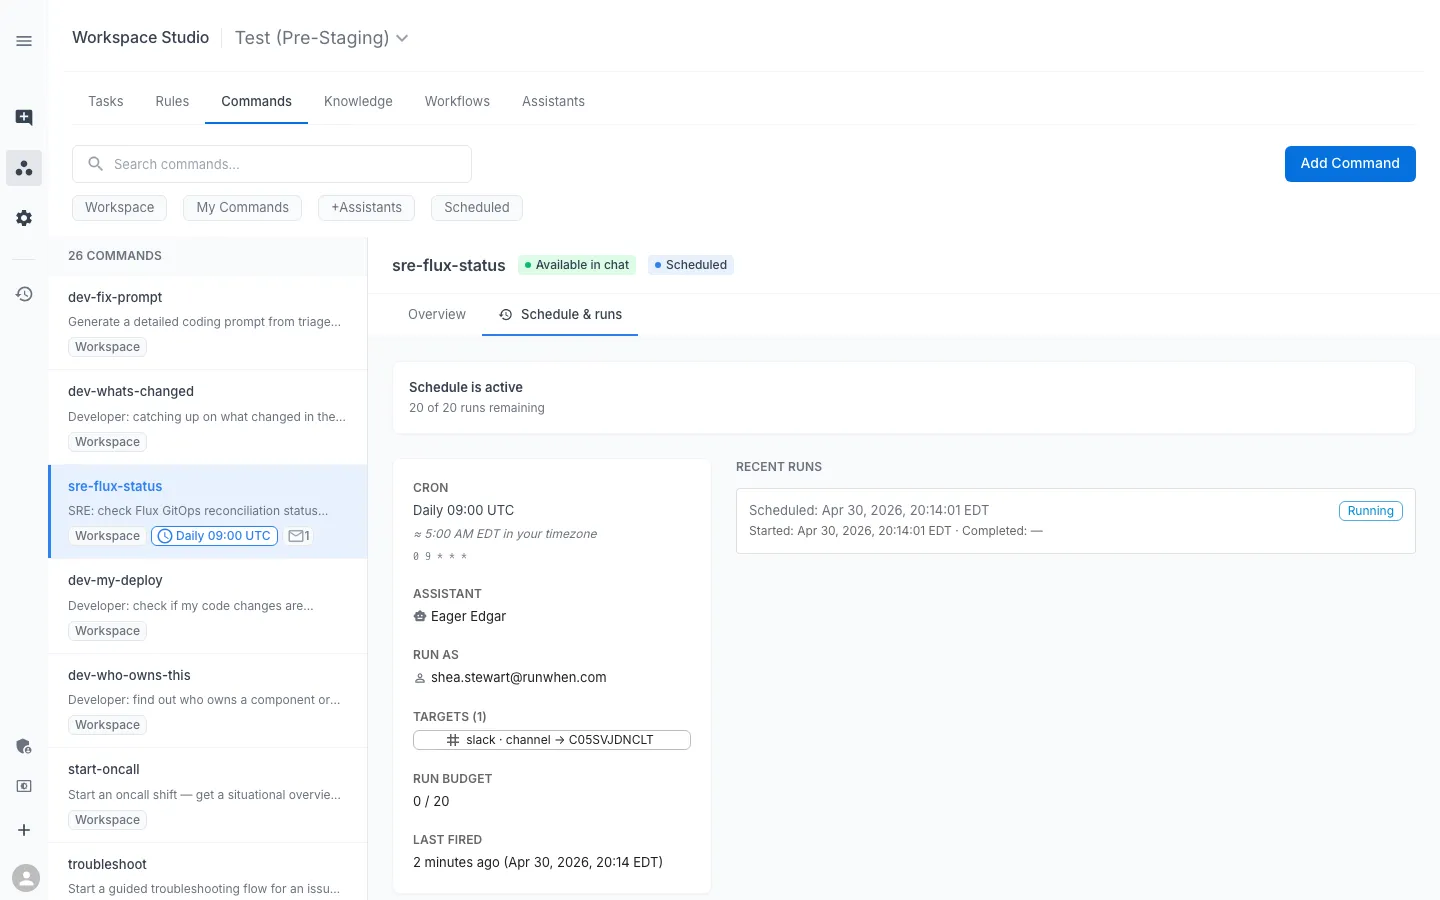
Scheduled commands
Open any command (Studio → Commands → click a row) and switch to the Schedule & runs tab to attach a cron schedule and one or more delivery targets. The example below — sre-flux-status set to 0 9 * * * (“Daily 09:00 UTC”) — shows every field the tab exposes: the CRON expression with a localized ”≈ in your timezone” hint, the ASSISTANT persona, the RUN AS identity, the TARGETS list (a Slack channel here; email and webhook are also options), an optional RUN BUDGET, LAST FIRED, and a RECENT RUNS panel showing in-flight and historical executions. Sidebar rows show a clock chip with the cron summary so scheduled vs on-demand commands are scannable from the list.
| Field | Notes |
|---|---|
| Cron | Studio validates the expression as you type. |
| Assistant | Pick a persona that matches the automation’s risk profile (typically read-only). |
| Run as | The user identity whose permissions the run executes under — usually an admin so deliveries stay authorized. |
| Targets (sinks) | Email (one address or all workspace members) and/or Slack (a channel the RunWhen app can post to, or a webhook URL). |
| Pause / Resume | Stops scheduled firing without deleting the configuration. |
| Run now | Fires the same path as the cron, immediately, for testing. |
| Run budget | Caps total scheduled executions before the schedule disables itself. |
| Recent runs | Per-target delivery status and the artifact each run sent. |
If the command is on-demand, the tab shows the inverse empty-state copy: “Add a cron + at least one sink to fire this command on a schedule and deliver the result to email or Slack.” The platform refuses to enable a schedule until both are set.
For the on-demand vs scheduled vs workflow distinction, and the conceptual model, see Learn → Commands → Scheduled commands and Learn → Workflows.
Knowledge
The Knowledge tab is where you create and manage knowledge notes — short, retrievable pieces of operational text that assistants pull in during investigations. For the conceptual model — what makes a good note, how retrieval works, scope as a promotion signal vs a hard filter — see Learn → Knowledge.
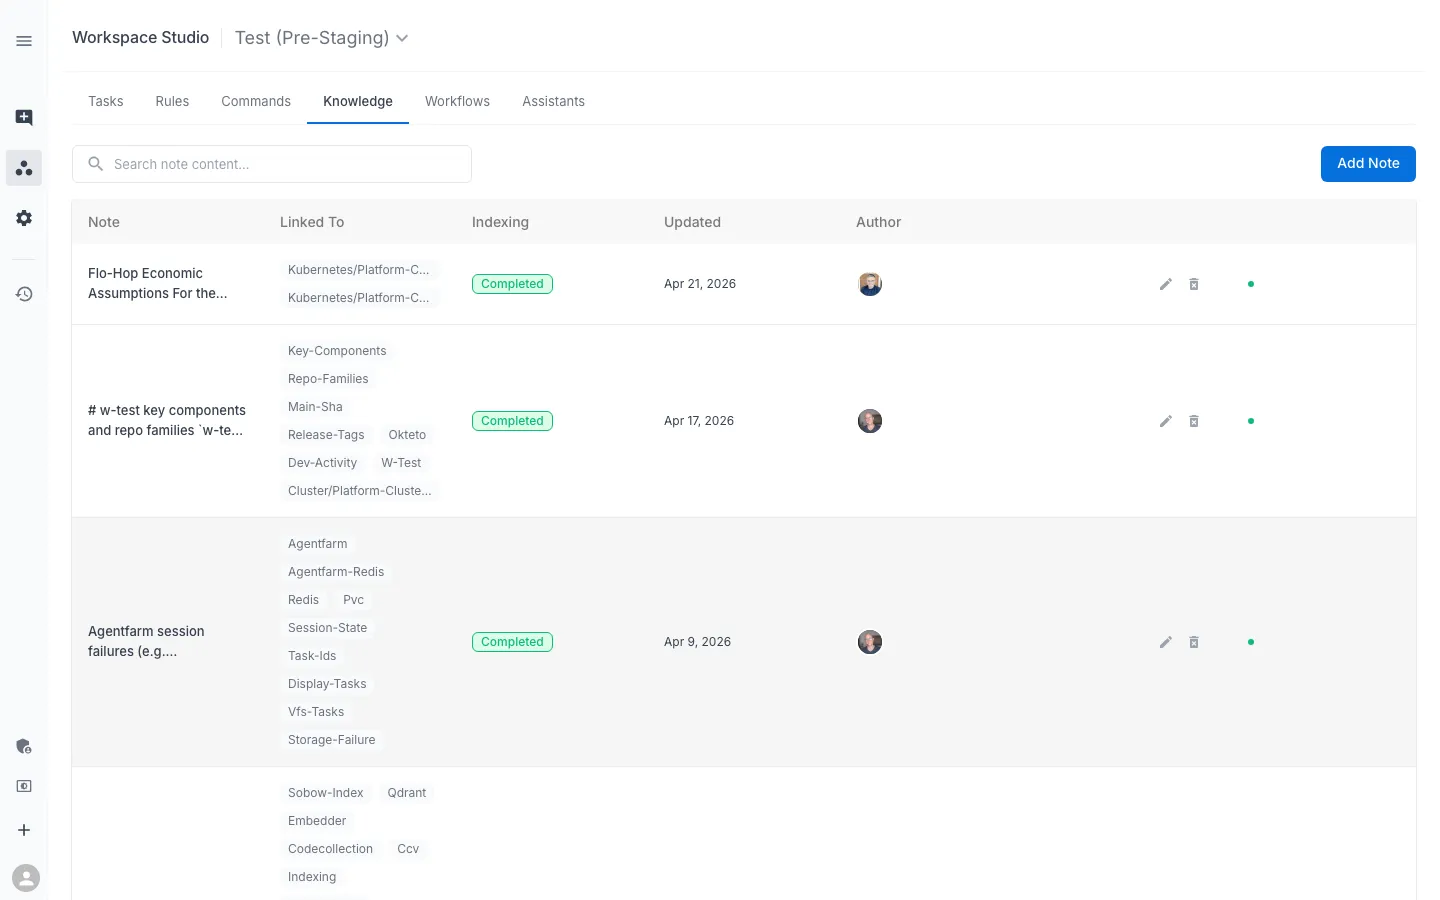
Each note exposes
| Field | Notes |
|---|---|
| Content | Markdown or plain text. Operational prose; not long pasted logs. |
| Resource scope (optional) | One or more resource paths from your workspace map (namespace, cluster, SLX). Scoped notes are more strongly retrieved during investigations that touch those resources. |
| Status | Active notes are eligible for retrieval; Deprecated notes remain visible for audit but stop being retrieved. Prefer deprecation to deletion. |
After save, the platform indexes the note for retrieval. Indexing takes a short time; the tab surfaces status so you know when a note is fully available.
Assistants pull relevant notes automatically — both in Workspace Chat and through integrations such as Slack. You do not paste note IDs into prompts.
Workflows
The Workflows tab is where you wire external events (alerts, webhooks, SLO violations) into automated investigations. For the conceptual model — Workflow vs scheduled command, integration philosophy, when to add automation — see Learn → Workflows.
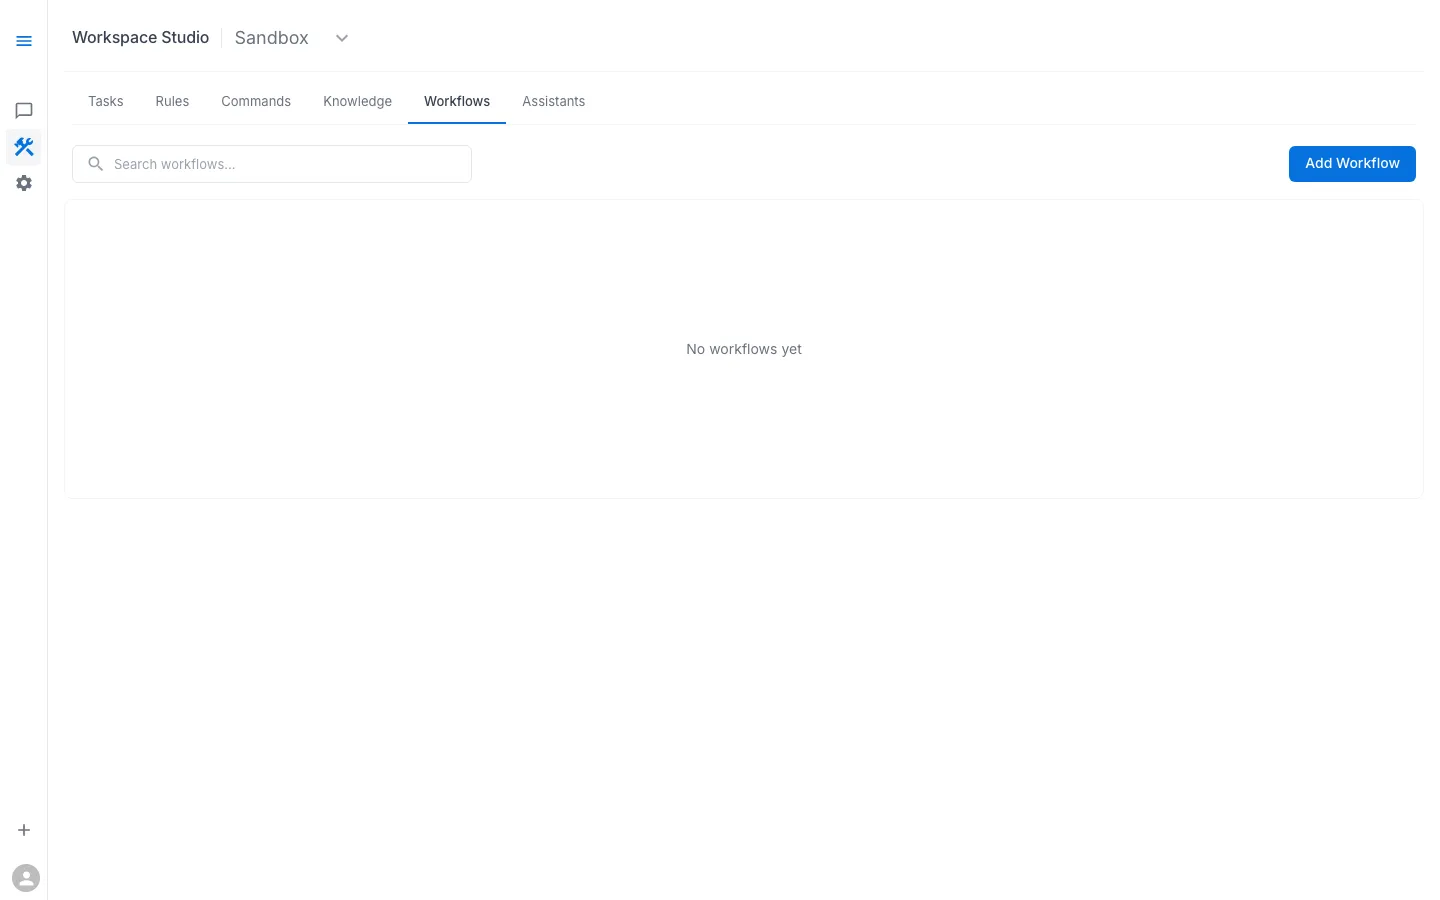
Available actions
- Search existing workflows
- Add Workflow to create new automation
Integration targets
Workflows can both trigger from and deliver to these systems:
- Slack — send notifications, create channels, post investigation results
- PagerDuty / Opsgenie — trigger from incidents, deliver context as incident notes
- Webhooks — connect any HTTP-capable system
- RunSessions — start investigations automatically when a trigger fires
Assistants (Studio Tab)
The Assistants tab provides the same management interface documented on the dedicated AI Assistants page. From here you can:
- View all configured assistants with their profiles and confidence thresholds
- Click into an assistant to edit its configuration
- Add new assistants with Add Assistant
The list shows each assistant with:
- Avatar and name
- Description
- Access level (Everyone, or specific users)
- Read/Write permissions
- Filter Confidence and Run Confidence percentages
See the AI Assistants page for complete documentation.